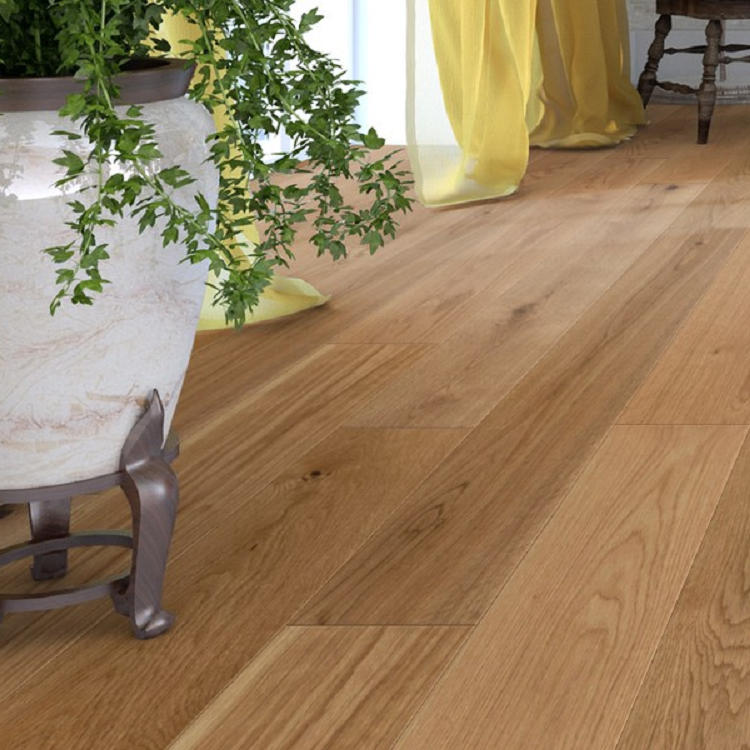
If you’re looking to upgrade the flooring in your home, hardwood floors are a popular and stylish option. And when it comes to hardwood flooring, engineered wood has become a popular choice due to its durability and versatility. In particular, the herringbone pattern has become increasingly popular, and the grey engineered herringbone flooring is a trendy option that adds a touch of elegance and modernity to any space.
In this article, we will guide you through the process of installing engineered flooring, including what materials you’ll need, the installation process, and how to care for your new floors.
Materials You’ll Need:
- Grey engineered herringbone flooring/ herringbone engineered oak flooring , etc
- Underlay (if needed)
- Lacquered engineered flooring adhesive
- A notched trowel
- A saw (circular or jigsaw)
- Measuring tape
- Pencil
- ‘Safety glasses
- Gloves
Installation Process:
1. Prepare the Surface
Before installing your new floors, you need to ensure that the surface is clean, flat, and dry. Start by removing any existing flooring, and then sweep and vacuum the surface to remove any debris. Use a level to check that the surface is flat, and make any necessary repairs before proceeding.
2. Lay the Underlay (if needed)
If you are installing the flooring over a concrete subfloor or a surface with unevenness, you’ll need to lay down an underlay to provide a level base for your new floors. Cut the underlay to size, ensuring that it is snugly fitted against the walls and that there are no gaps.
3. Plan the Layout
Before you start installing the herringbone pattern, it’s important to plan out the layout. Measure the length and width of the room, and then determine the centre point. From there, mark out the starting point for your first row of flooring, ensuring that it is square to the walls.
4. Install the First Row
Apply a small amount of lacquered engineered flooring adhesive to the subfloor using a notched trowel, and then lay down the first row of flooring along the starting line. Make sure that each plank is snugly fitted together and that there is no gap between them. Use a saw to cut the last plank to size, ensuring that it fits tightly against the wall.
5. Install the Herringbone Pattern
To create the herringbone pattern, you’ll need to start laying the planks at a 45-degree angle from the first row. Apply the adhesive to the subfloor using the notched trowel, and then lay down the planks, fitting them tightly together at the corners. Use a saw to cut the last plank in the row to size.
6. Repeat the Pattern
Continue laying down the herringbone pattern, making sure to fit the planks tightly together and trimming the last plank in each row to size. When you reach the end of the row, measure and cut the last plank to fit tightly against the wall.
7. Finish the Installation
Once you have laid down all the planks, allow the adhesive to dry for at least 24 hours. Once the adhesive has dried, you can trim the edges of the flooring using a saw to fit it perfectly against the walls.
Finally, remove any excess adhesive with a scraper, and then clean the floors thoroughly.
Caring for Your New Floors:
Now that your grey engineered herringbone flooring is installed, you’ll want to take steps to keep it looking its best. Here are some tips for caring for your new floors:
- Sweep or vacuum regularly to remove dirt and debris.
- Wipe up spills immediately to prevent water damage.
- Use a soft microfiber cloth to clean the floors, and avoid using harsh chemicals or abrasive cleaners.
- Place mats or rugs at entryways to prevent dirt and debris from being tracked onto the floors.
- Use furniture pads to protect the floors from scratches and dents caused by heavy furniture.
- Avoid wearing high heels or shoes with sharp soles that could scratch the floors.
- Maintain a consistent temperature and humidity level to prevent the floors from expanding or contracting.
By following these tips, you can keep your grey engineered herringbone flooring looking beautiful for years to come.
Summing Up
The installation of engineered herringbone flooring is a great way to add elegance and modernity to any space. The installation process requires careful planning and attention to detail, but with the right materials and tools, it can be accomplished by a DIY enthusiast.
Once installed, the floors should be cared for properly to maintain their beauty and longevity. With proper care, your engineered herringbone flooring will provide a stylish and durable flooring option that will last for many years to come.

